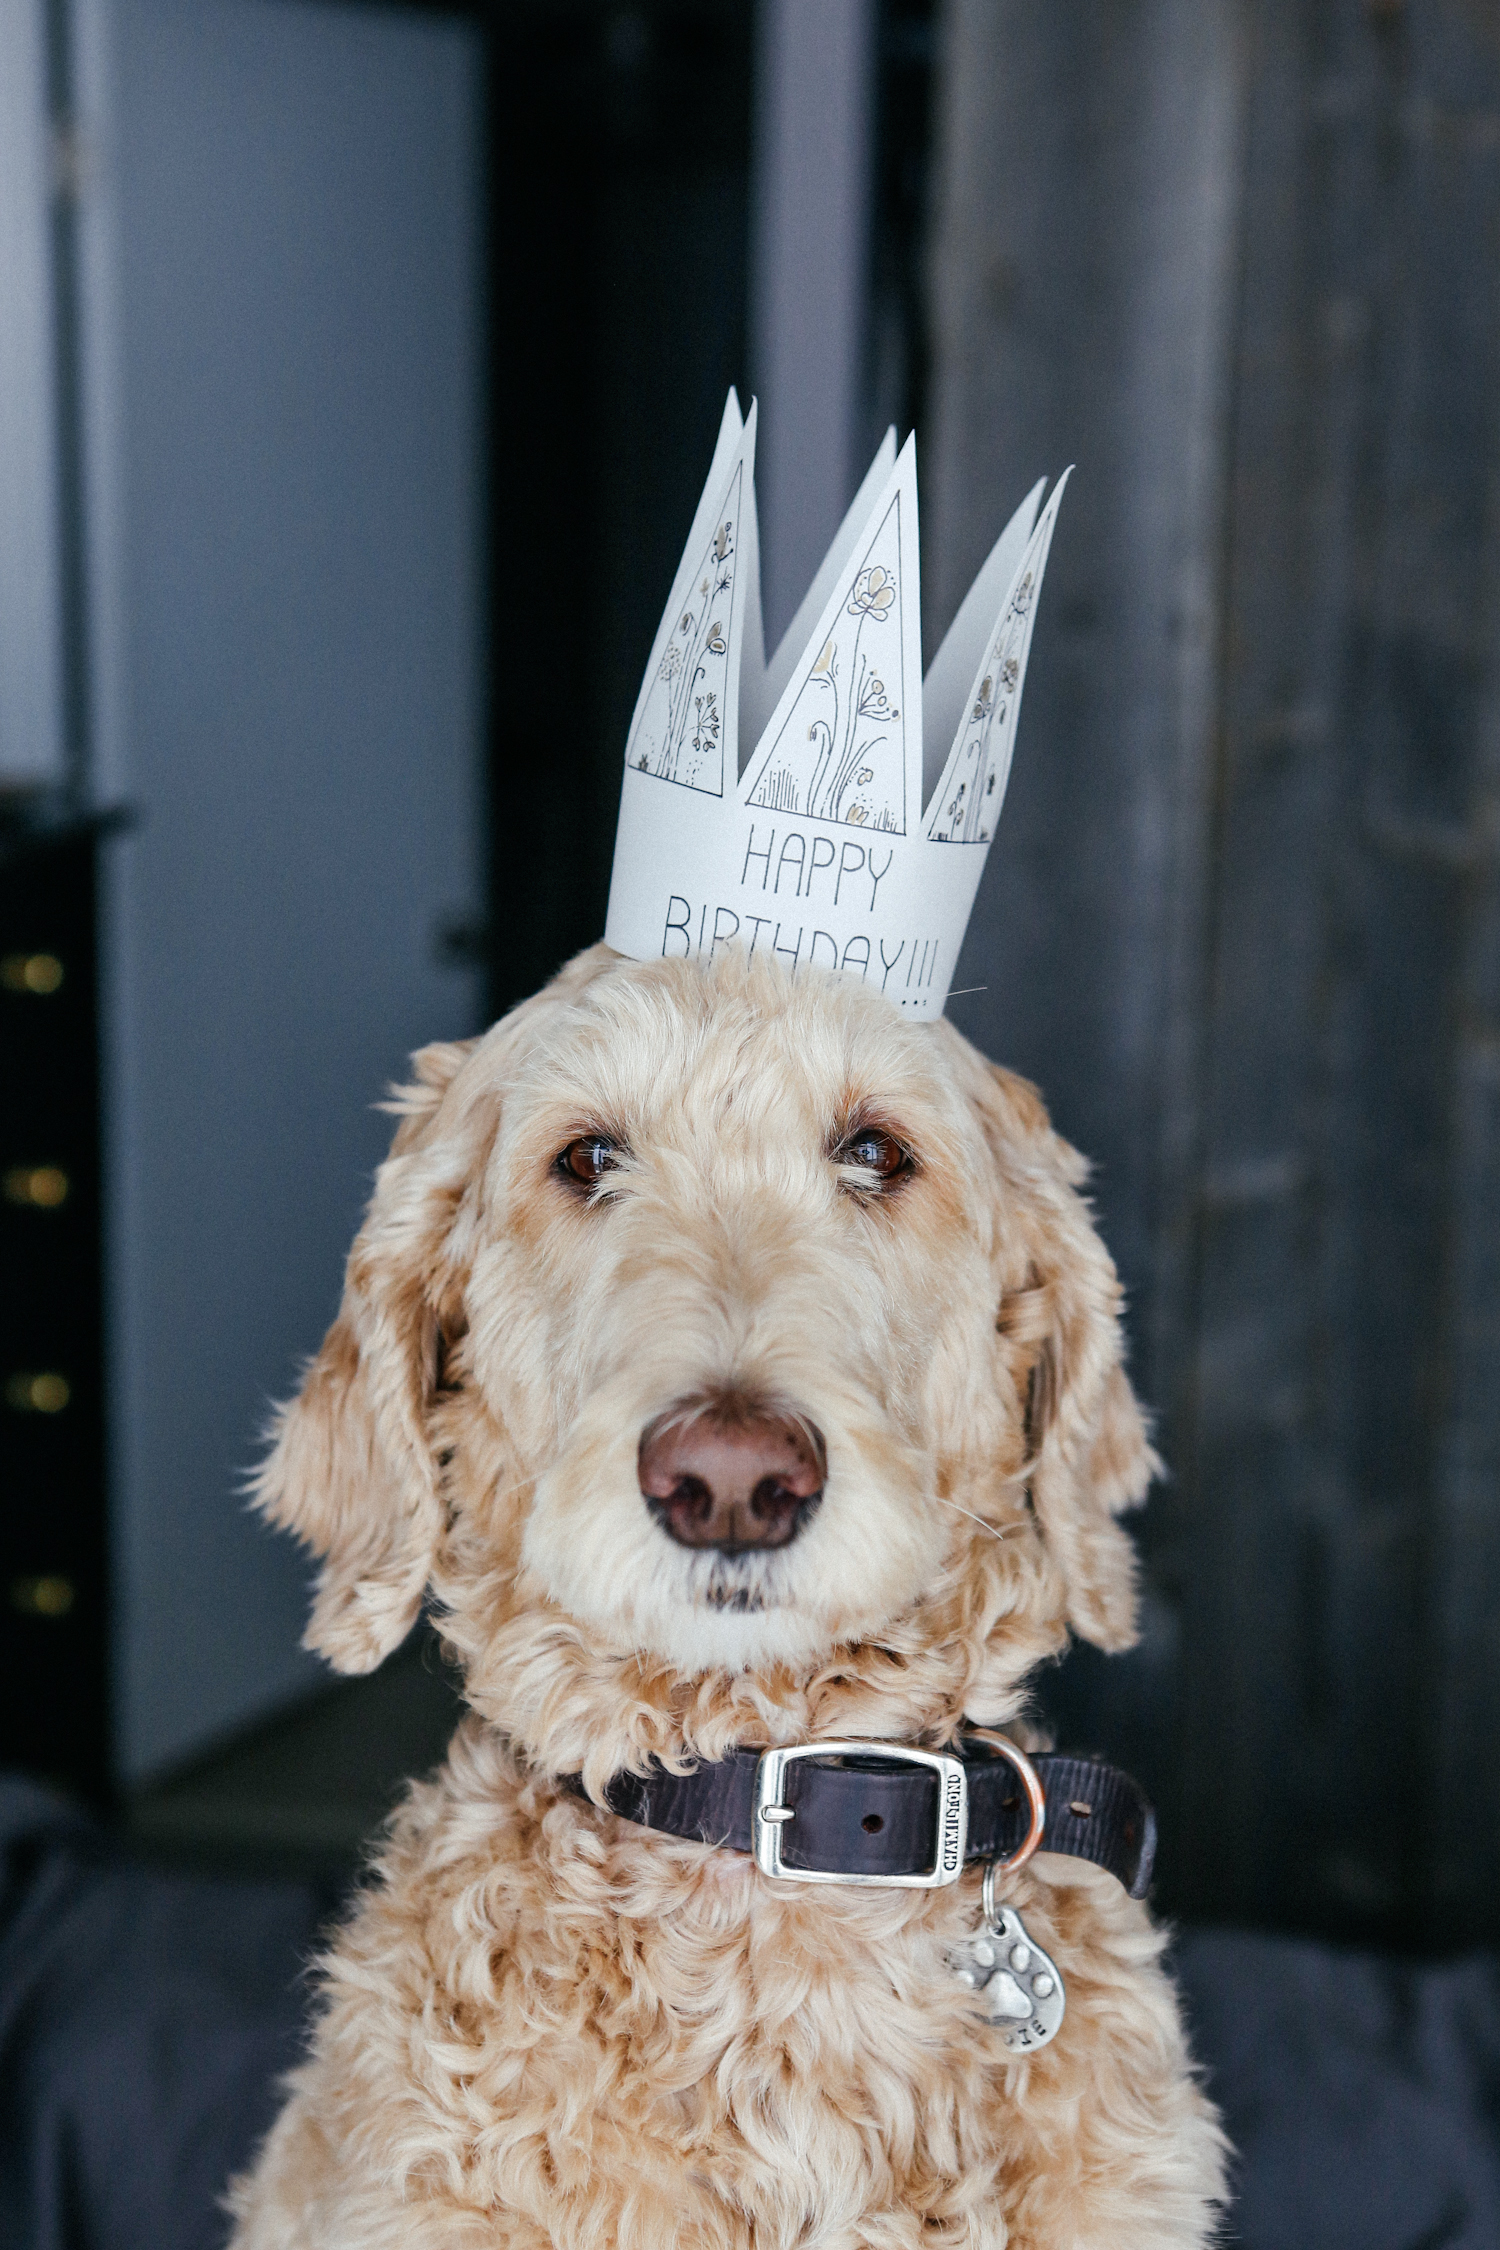
Since participating in the Toronto Bridal Show 3 weeks ago, I have had 18 meetings with “hopefully” future clients. Within these meetings I have noticed a pattern in the questions being asked and one of the most frequent questions proposed by couples is “What happens to a photo during the editing process?”
It has come to my attention that sometimes, as photographers, we forget that the average person doesn't know what really goes into editing wedding photographs. We may be in the digital age, and the average person may have seen the college humour video changing a pizza into a beautiful model in photoshop, but that does't necessarily mean your client is going to know what you do behind the scenes once the wedding is over. Today I want to tell you what I do once I am home and the little things that make my editing unique!
Firstly, I want to point out that when a photographer's packages include “Edited Images” you should ask what this means. After going to photography school as well as being in the industry for the past 7 years, I can honestly say that this simple term is used to describe a variety of processes. In my opinion there should be these 3 titles to describe the different styles of wedding photography editing.
Basic Editing
Basic Editing typically occurs in programs like Adobe Bridge or Lightroom and includes colour correction, cropping, exposer (lighting) adjustments, contrast, sharpening, noise reduction, alignment, vignetting etc.
Filtering/Presets
Filtering is typically done in Photoshop or Lightroom and involves clicking a preset button which then plays out a series of basic editing adjustments giving your images a nice consistent look. These presets can be created by the photographer themselves but are typically purchased through preset companies or other photographers.
Artistic Editing
Artistic or “Fine Editing” as I like to call it is done in photoshop and is a lengthier process which dives into finer details. Here is where photographers can do things like skin retouching, taking out exit signs in halls, adding & enhancing sun flares, taking out double chins and removing flyaway hairs, removing stains or marks on clothing, adding snow, straightening buildings, and much much more. I can't imagine turning a slice of pizza into a beautiful model, and contrary to what people think the sky isn't necessarily the limit, but this is where photographers have a greater ability to be creative and perfect their images.


What I do!
Here is a simple breakdown to understand what you will be receiving in your wedding package in regards to editing.
I start by going through all of the images photographed and making “basic editing” adjustments to the images I intend to keep. These are all the images photographed on the day but not including images with major imperfections like people blinking, or if a guest walked into the photo frame etc. This normally results in making “basic editing” adjustments to 800-1500 images depending on how long I was taking pictures at the wedding.
After that I send you all the images to go through and pick your favourites for “Artistic Editing” or “Fine Editing”. Within each of my packages I have included a predetermined amount of finely edited images. Not all wedding photographers believe in “Artistic Editing”, especially because of the amount of time it takes to do. I happen to love the artistic freedom it allows as well as the ability it gives me to provide my clients with a product filled with care and hard work. I also feel that on average we put so much stress into “looking perfect” on our wedding day. Blemishes or flyaway hairs are things that aren't always avoidable and can be frustrating in photos because they don't reflect your personal best. I believe in making realistic editing choices and not “over editing”, but it also fills me with joy when I can provide a bride with an image that makes them look naturally radiant
Thank you so much for taking the time to go through this wildly long post! I hope this gives a little more insight into my editing process as well as provides you with the basic knowledge to ask the right questions in regards to “Edited Images”.
Cheers! :)